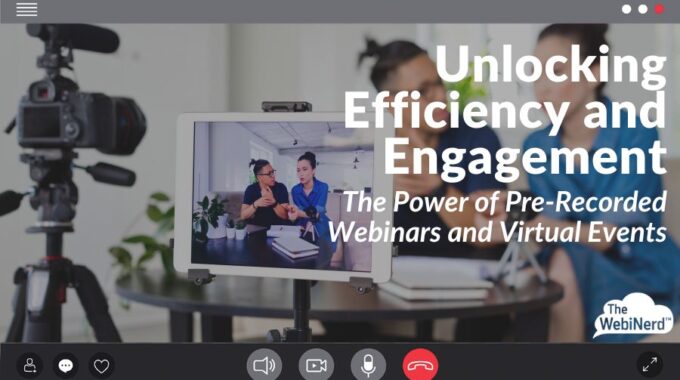
With pre-recorded webinars, your speakers have the option to appear as flawless orators who rarely say “um” or “uh” while guiding your audience through dense content where there is no room for error. They can also eliminate the scramble to find a common schedule for busy presenters when you're working across multiple time zones. While they may rub against some of our best instincts as event organizers, pre-recorded or simulated-live webinars offer several clear benefits that may make recording your presentations in advance ideal for some of your virtual events.
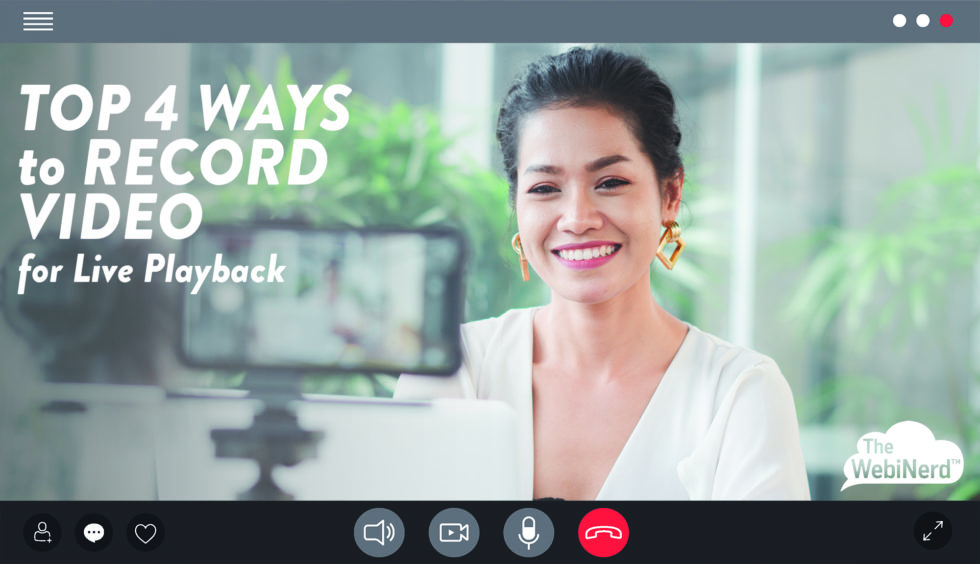
Top 4 Ways to Record Video for Live Playback in a Virtual Event
1.
Top 4 Ways to Record Video for Live Playback in a Virtual Event
Successfully record content for your virtual events using affordable and free software.
At The WebiNerd we’ve produced thousands of virtual events and have seen numerous use cases for using pre-recorded presentations for playback during a live, virtual event. Why use recorded content? Perhaps the guest presenter is unavailable or in another time zone on the day of the event. Maybe the presenter has nerves about presenting live and prefers to record. Or you may have an event that deserves some polish and you wish to offer more of a broadcast feeling for the event. For all these reasons an edited recording can be a useful option.
If you’ve found a need to pre-record any of your content, use these tips to help your presenters capture themselves and deliver quality audio and video content. We’ll share 4 reliable recording methods and some additional tips. Please also check out our posts on looking great on camera and methods for playing back video on Zoom.
1. Record with Zoom or your video conferencing platform
Zoom (or your preferred video conferencing platform) is familiar to most people, or at the very least it’s easy to find someone who can help. This makes it an ideal choice for recording if you are happy with the output quality of the recording service. Remember to use an external, HD webcam to improve the video capture (check out our video on microphone and camera options). Cameras built into laptops are not typically very clear.
Benefits
- The host can assist remotely (use the spotlight tool on the presenter’s video)
- Record multiple presenters in speaker or gallery view
- Include slides in the recording with screen share
- File size is small due to recording compression – easy to share and manage for editing
- Use familiar tools like virtual backgrounds
Limitations
Video quality is 720p unless the presenter records locally (learn more about video quality here: Sharing Video Clips in Zoom)
Although many clients have been able to do this on their own, The WebiNerd is often hired to support clients with this arrangement and it proves to be very affordable since our producers are so efficient with the software and can promise great results. If you’d like to find out more you can contact us here.
2. Use a mobile device like your phone or tablet
The cameras on most modern smartphones and tablets are quite advanced and can capture amazing quality images. However, the microphones on these devices are also very powerful and pick up background noise. Be sure to use a quiet space or an additional microphone to capture audio clearly. Typically, you will want to use the front-facing camera on the device (that’s the camera on the back of the device, not on the screen side). Prop the device up or use a tripod and have the convenience of recording in any suitable location. HAving someone on site to help frame the presenter is immensely helpful.
Benefits
- Easy to capture high quality video content (1080p or better)
- Capture from any location
Limitations
- Audio quality can suffer without a quiet space or technology to eliminate background noise
- To assist the presenter, someone will need to be on site with them
- Retrieving the file from the device will require file transfer – do not email or text. Send it through file sharing like Google Drive or Dropbox to maintain quality.
3. Use OBS or video making tools
OBS Is a free, open source platform that we often use for playing videos into Zoom (Link to blog), but it can also be used to record audio and video pretty easily. There are many other free and fee based tools available. Others, like Wirecast, even allow you to record people remotely. Using tools like this can allow you to affordably enhance the production quality of your recordings, but there is an investment in time to learn and potentially coach others. Higher quality does take time or…see Bonus Tip 4
Benefits
- Improved audio and video quality
- Potential for higher quality branding and post-production editing for DIY teams
- Can be used live to enhance your virtual events
Limitations
- Steep learning curve
- File sizes will be larger, maybe challenging to manage
4. Hire a professional
Though a professional videographer and editor may be expensive, the budget impact may be well worth it if you have a project that requires a high level of professional output.
If you want professional results, hire a professional team to get you there and dedicate a member of your team to manage that conversation to stay on task. We offer some simple video editing for clients at The WebiNerd like splicing video segments together for a longer playback or adding some small edits, but we also have a network of experts ready to assist you.
When you’ve decided how to proceed it will be time to record! Check out our blog Best Practices for Recording Your Presentation for Live Playback for our tips and a printable infographic to keep by your side!
Need some more help to guarantee great results?
We’re always happy to help our clients record content and the bonus if that you’ll get our years of expertise using such content in a virtual event. If you’d like to get pricing, or just talk about what we can do to help, contact us below.
Related Posts